
Epoxy flooring does not seem challenging on paper. You've watched the tutorials online — someone rolls it on in an afternoon, and the garage looks like a showroom the next day. The part those videos leave out is that a month down the road, bubbles begin to appear, or the coating peels away in sheets when the first car drips oil on it. It costs what it costs to have it done right. Let's look at what doing this right really involves edmondepoxy.com/
Most people skip surface preparation entirely.
That concrete cannot just have epoxy rolled onto it until you are certain it is clean. Not "swept with a broom" clean. Cleaned both chemically and mechanically. Old coatings, grease, efflorescence, or curing compounds — and you'll be pulling sheets of epoxy off the floor within months.
The best approach is mechanical grinding. Grinding the surface with the right equipment gives epoxy something to grip. Acid etching can also work but is messier, less predictable, and the salts must be neutralized and fully rinsed. Ignore prep and the floor will fail within the year.
Moisture is the hidden enemy of epoxy. Concrete is porous and allows moisture to move through it. Rising vapor through the slab will eventually lift any epoxy coating. Test for it. Tape a plastic sheet to the concrete and leave it overnight to check for moisture. Address moisture with the right primer system before proceeding.
Proper mixing is essential.
Two-component epoxy requires both resin and hardener to be combined. The ratio matters — 2:1 or 3:1 by volume — and eyeballing it is not an option. Skimp on the hardener and the floor may never fully cure. Too much hardener shortens your working time severely. The material could harden before you get it on the floor.
Use a paddle mixer on a drill. Blend the components for a full two to three minutes. Make sure to scrape the bucket sides and base. Allow the mixed epoxy to rest for the manufacturer-specified induction time before applying. The induction time is a chemical requirement, not a suggestion.
Temperature and humidity cannot be ignored.
Epoxy is sensitive to temperature and humidity. Typical requirements call for air temps of 50–85°F and surface temps above 55°F. Too cold and the epoxy simply will not set up. High humidity causes blush, a milky surface contamination that blocks adhesion.
Interior conditions vary throughout the day. Conditions that are fine at noon might be problematic by morning when temperatures drop. Monitor the dew point temperature. The concrete surface should be at least 5°F above the dew point, or you will have adhesion problems.
Applying the epoxy correctly.
Cut in the edges with a brush first. Roll the open floor area with a 3/8" nap roller. Roll in manageable sections, maintaining a wet edge throughout. Move with purpose, not panic. Epoxy holds texture and will show every mistake once it starts setting.
Good results require at least two applications. The base coat penetrates and bonds with the concrete. A second coat adds depth and completes the look. In broadcast flake systems, colored chips are scattered into the wet base coat, the base is fully flaked, scraped after drying, and then topped with one or two additional coats. The final coat is often a polyurethane or polyaspartic topcoat rather than more epoxy, for UV stability and added protection.
Polyaspartic coatings vs. traditional epoxy.
Polyaspartics offer quick cure times, UV stability, and cold-weather flexibility. They are also less forgiving, with pot lives as short as 20 minutes in warm conditions. Professionals love them. First-timers sometimes struggle. For most home DIYers working a garage floor, conventional solid epoxy is more forgiving.
Steps pros take that homeowners typically miss.
Experienced installers measure film build throughout the job. They use squeegees to control spread rate before back-rolling. They know that 100% solids epoxy is fundamentally different from water-based epoxy paint. Water-based systems marketed as epoxy floor coatings are essentially enhanced latex — with limited chemical resistance. They are more user-friendly, but sacrifice durability.
Professionals also address cracks before coating. Minor cracks are filled, shaped, and leveled. Structural cracks that show movement should be evaluated by a concrete repair specialist.
Waiting after installation is where most people make a costly mistake.
Light foot traffic after 24 hours is usually fine. But vehicles? Most manufacturers recommend waiting at least 72 hours. Drive on it too soon and you may leave tire marks that become permanent. Full chemical cure takes up to 30 days. During this time, avoid aggressive chemicals and abrasive dragging.
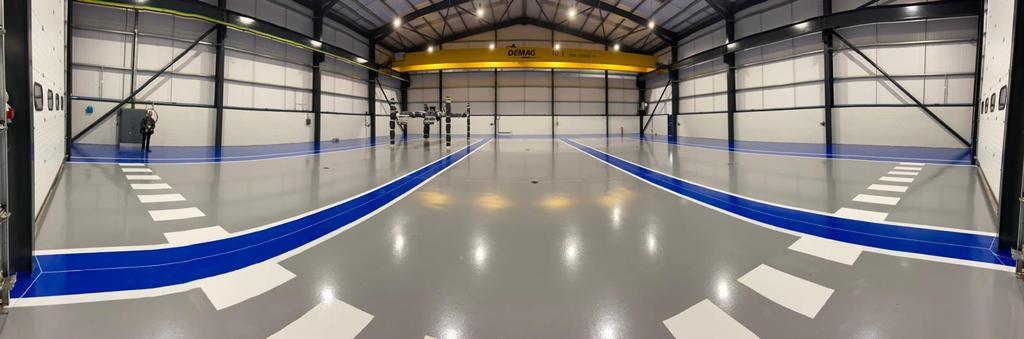
Done right, an epoxy floor is a long-term investment. It is used everywhere from restaurant kitchens to aircraft hangars because it performs. It is not a difficult job, but it is an exact one. Rush the mix, ignore the weather, and skip the prep — and you will be starting over before the season changes.